PS滤镜的图文操作方法
大多数滤镜无需安装,直接保存到相应的文件:Program Files\Adobe\Photoshop CS\增效工具\滤镜里面,以上是PS CS 和PS CSII里面的位置,版本保存到安装目录下的 Plug-ins 文件夹下即可。具体操作如下:
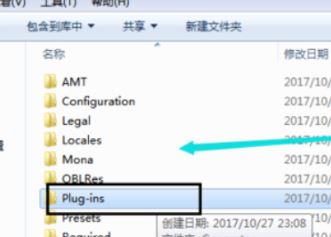
1、打开Photoshop的安装文件夹,找到Plug-ins文件夹并打开:
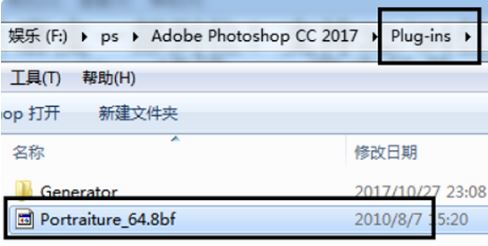
2、然后将后缀名为“8bf”的滤镜文件直接拖到Plug-ins文件夹中:
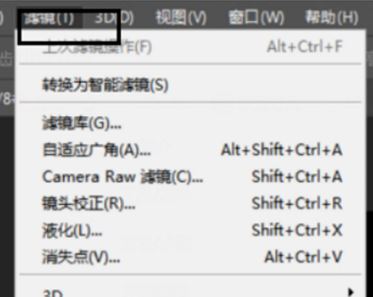
3、然后进入到Photoshop中,点击菜单栏的滤镜菜单:
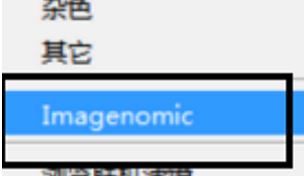
4、在下方就会看到新安装的Imagemonic滤镜:
以上便是kk下载给大家介绍的PS安装滤镜的详细操作方法~